
Many students struggle with the technicalities of writing a scientific paper for the first time. This guide was made to make the process a bit more straightforward and pain-free.
I. What software do you need?
1. Writing
Any word processor capable of styling a document, generating a table of contents, numbering pages, and adjusting typeface and margins will work. However, LibreOffice or Microsoft Office are highly recommended for their advanced features.
Even if your institution provides you with free Microsoft licenses, I would still urge you to use LibreOffice instead, because it…
- …is free and open-source — no license required.
- …does not analyze your writing for commercial purposes.
- …is ethically preferable: scientific work should not depend on companies with questionable data practices.
- …has legal advantages in the EU: avoids privacy issues when storing participant data.
2. Citations
Technically speaking, a word-processor is all you need to get started. However, if you don’t want your life to be eternal suffering, then you’re going to use citation software. They enable you to speed up the insertion and styling of citations and, more importantly, that of the bibliography. It’s all fun and games to do it manually, until you realise that you have more than just 10 pieces of literature and that they’re all a different type, with different citation rules.
Zotero is a free and open-source citation manager that can integrate with LibreOffice and Microsoft Office alike.
II. Setting Up
After installation, ensure Zotero integrates with your office software. It usually detects the program automatically. However, in some rare cases (especially on Linux, if you installed Zotero from Snap or Flatpak) it might not integrate straight away, so you’ll need to quickly reinstall it from the preferences menu. For more details see the official documentation.
If Zotero is installed correctly, you should be able to see the following icons in Writer.

Importing Literature
When you’re collecting literature, be on the lookout for easy importing possibilities. Zotero can import references in BibTeX or RIS format, commonly found under Cite or Citation buttons on publishers’ websites.
After downloading, go to File → Import in Zotero. Review and correct any errors. Beware that these files aren’t correct 100% of the time, so make sure to double-check and correct mistakes by hand. You can also add entries manually using the green plus icon.
Use Zotero’s Collections to group references. Items can appear in multiple collections. Back up your library occasionally with File → Export Library.
III. Citing
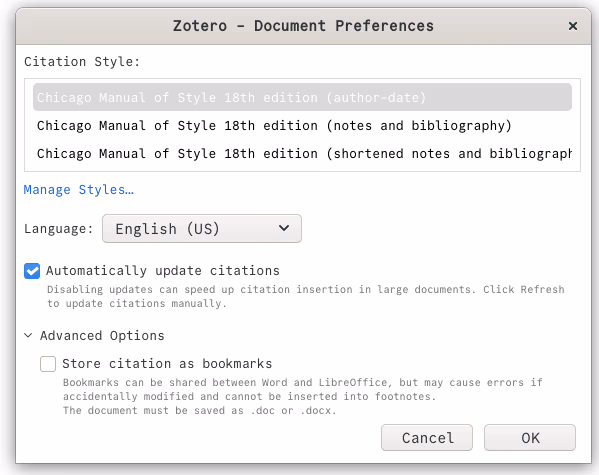
To insert a citation, click Zotero’s Insert Citation button in your word processor. If it prompts you to choose a citation style, choose whichever you prefer (I personally really like Chicago Style). Also choose the right language for your document. Search for the relevant source and press Enter.
The pop-up you get when inserting the first citation.
After you have inserted at least 1 citation, it will become possible to insert a bibliography. For this, simply press the right button (Add/Edit Bibliography). Note that the bibliography will be inserted at the current writing position.
IV. Structuring the Document
After mastering citation, focus on formatting and coherence — not in argumentation, but in layout and style.
1. General Setup in LibreOffice
Enable Tabbed Interface under View → User Interface…, then activate the Menubar. Re-enable Zotero afterward if needed.
General rules:
- Typeface: Sans Serif (Noto Sans, Arial, Liberation Sans, etc.)
- Alignment: Left (don’t use justified as it makes the text difficult to read for people with disabilities)
- Font sizes: 10–12 pt for body text (this can greatly vary based on the font you use)
- Line spacing: 1.5
- Margins: 1.5–2.5 cm
- Paper format: A4
- Page numbers: Start on page 2 (or page 3/4, if you don’t want to count the table of contents)
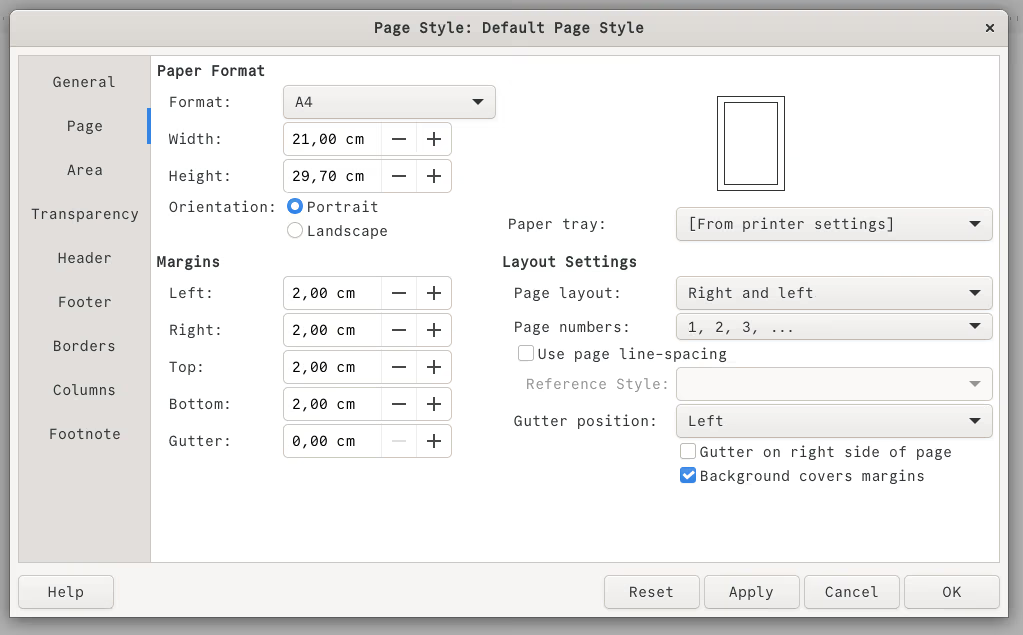
To configure the page margins and the page format, simply right-click anywhere on the document and choose “Page Style…” from the list. In the new window choose the “Page” tab where you can adjust the margins and choose the format.
Page Style Pop-up
2. Document structure
Your scientific article is going to need a specific structure:
- Cover Page
- Table of Contents
- Introduction
- Your Chapters
- Conclusion
- Bibliography
- Attachments
To create a Cover Page, first position your cursor before the first letter in your document and hit Ctrl+Enter. This inserts a Page Break. On the new page write down the title of your paper, your name, your matriculation number, your lecturer’s/mentor’s name, the name of the course, the semester and the field of study. (Note: you may not need all of these)
To format your document, use Styles instead of manual formatting. Styles are presets that you can configure yourself. Create custom styles via Styles → New Style from Selection. Assign spacing and font settings for titles, subtitles, and main text. This is also important to be able to generate a Table of Contents.
Header & Footer
Some elements need to be inserted on all pages, like the Page Numbering. You can edit the Header and Footer settings in the Page Style menu mentioned above. Make sure to untick “Same content on first page” for both.
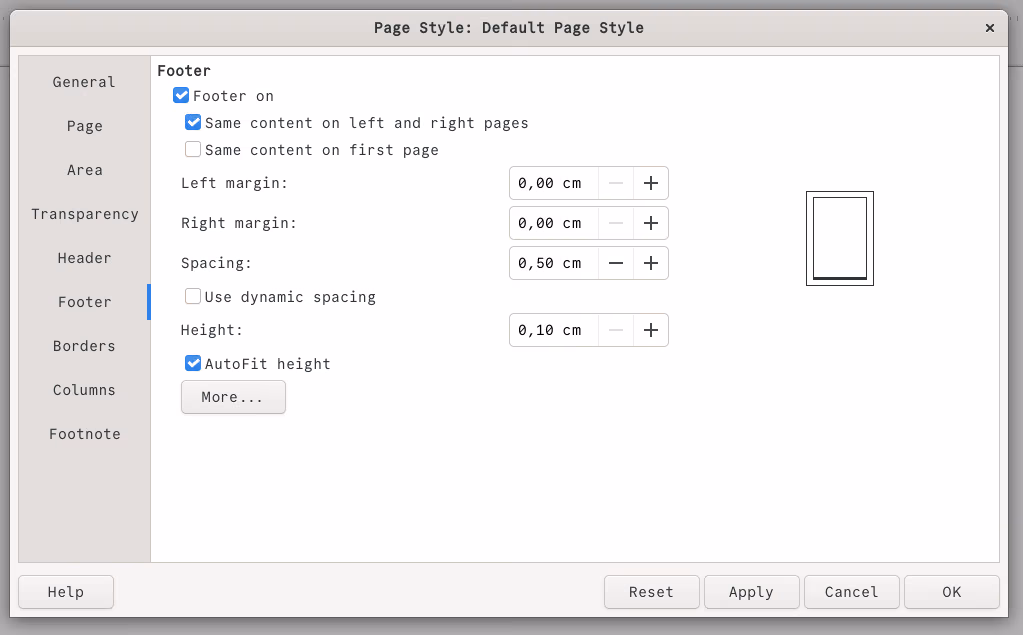
Footer Settings
Page Numbering
After enabling the footer, insert the page numbering via Insert → Page Number…. Now you should have page numbers starting with 2 from your second page.
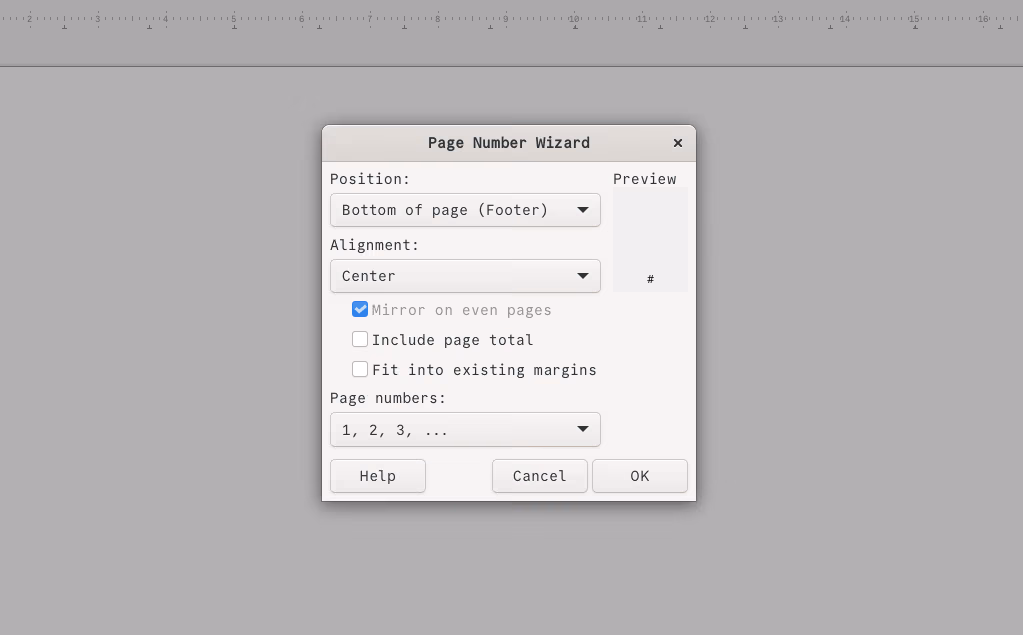
Page Number Insertion Menu
Table of Contents
Insert a Page Break then Insert → Table of Contents and Index → Table of Contents, Index or Bibliography…. Under the Type tab, enable Additional Styles and assign your custom styles to heading levels. Once your ToC is generated, you can right click on it and choose update to refresh it.
V. Conclusion
The first time you navigate these tools will be tedious, but it gets easier. To help you get started, you can download the example .odt document.